Last Updated: November 2, 2026
Quick Summary
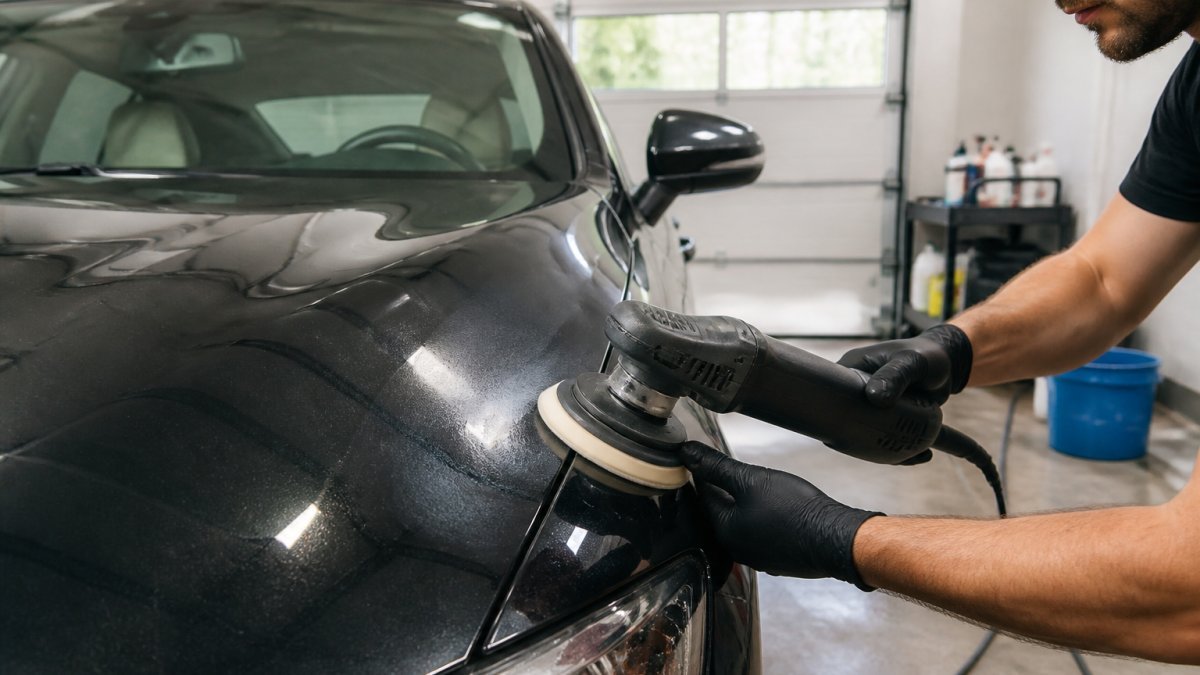
Car paint restoration is the multi-step process of removing surface defects from a vehicle’s existing finish, then protecting what remains, rather than replacing it. It follows a fixed order: wash, decontaminate, measure paint thickness, test spot, mask, compound and polish, then protect.
- Restoration removes clear coat material, while repainting adds material back to the panel.
- Measure paint thickness at the center, edges, and repaired areas of every panel before polishing.
- A one-stage polish typically takes 3-5 hours and costs $250-$450 professionally.
- Start with the least aggressive pad-and-polish combination and escalate only if the defect remains.
- Ceramic coating bonds to corrected clear coat and must never be applied over uncorrected paint.
Table of Contents
- What Car Paint Restoration Actually Is
- When Your Paint Needs Restoration or Correction
- Assessing Paint Condition and Clear-Coat Limits
- The Car Paint Correction Process, Step by Step
- Paint Correction Stages and Choosing a Correction Level
- How to Restore Faded Car Paint and Repair Chips
- Ceramic Coating After Paint Correction
- Schedule Mobile Paint Restoration at Your Location
- Frequently Asked Questions
What Car Paint Restoration Actually Is
Car paint restoration is the multi-step process of removing surface defects from a vehicle’s existing finish, then protecting what remains, rather than replacing it. Readers who realize their car needs correction can visit our paint correction service page to see what’s offered and how to book it.
Paint is a system, not a single layer. Beneath the color coat sits a clear coat that carries the gloss, blocks UV light, and absorbs most abuse. Oxidation, swirl marks, water spots, and etching all live in that top layer.
Restoration vs. Repainting: Where the Line Sits
The dividing line is how much clear coat you have left. Restoration removes material; repainting adds it back. If a defect sits in the clear coat, it is usually correctable. If it has broken through to bare metal, primer, or the color layer, no amount of machine polishing will fix it, and a body shop is the honest answer.
When Your Paint Needs Restoration or Correction
Faded, chalky panels and a finish that no longer beads water are the clearest signals your paint needs restoration. Oxidation shows up as a dull, whitish haze on horizontal surfaces first, because the roof and hood take the most UV exposure.
Other signals we look for:
- Swirl marks that appear as spider-web patterns under direct sunlight
- Water spots that no longer wipe away, meaning minerals have etched into the clear coat
- Scratches you can feel with a fingernail, which usually means the defect is deeper than a light polish will reach
A common mistake is assuming a dull finish just needs wax. Wax sits on top of the problem. If the clarity is gone, the clear coat needs correction before any protection goes on.
Assessing Paint Condition and Clear-Coat Limits
Paint condition assessment generally starts with measurement. A paint thickness gauge tells you how much film build remains before you touch the surface, and on a factory finish the clear coat is only a small fraction of that total. Reading the gauge correctly separates a safe correction from a burned-through panel.
How to Read a Paint Thickness Gauge
An electronic paint depth gauge measures the distance from the probe to the steel or aluminum substrate underneath. On a steel panel, the reading includes the clear coat, the color coat, the primer, and any factory or repair coatings. The number on screen is total film build, not clear-coat thickness, so interpret it accordingly.
A few practical rules most experienced detailers follow:
- Take multiple readings per panel. Measure at the center, near each edge, and around any repaired area. Factory film build varies panel to panel, and a repainted panel often reads noticeably higher or lower than its neighbors.
- Record the readings before you start. Write down the low reading on each panel. That low number, not the average, is your working limit.
- Treat a sudden jump as a red flag. A panel that reads far higher than the rest of the car has likely been repainted, and repaint film build and adhesion can differ from factory paint.
A paint thickness gauge measures total film build, not clear coat alone. Do not assume a high total reading means you have plenty of clear coat to remove. On many factory finishes the clear coat is a thin top layer, and the bulk of the reading is primer and color.
Clear-Coat Working Margin
Clear coat has a finite working margin. Every compounding pass removes a small amount of material, and once it is gone, it is gone. There is no additive fix short of a repaint.
On a well-kept original finish, a detailer has room to work. On a car already polished repeatedly, or one with a known thin repaint, the safe correction level drops sharply.
Distinguishing Correctable Defects from Repaint-Level Damage
Before any polisher touches the car, decide which category each defect falls into.
| Condition | What It Looks Like | Correctable by Polishing? | Right Fix |
|---|---|---|---|
| Light swirls and haze | Spider-web pattern under direct sun | Yes | One-stage polish |
| Oxidation | Chalky, whitish, no longer beads water | Usually, if clear coat is intact | Compound, then polish |
| Water-spot etching | Mineral rings that no longer wipe away | Sometimes, if shallow | Compound with a cutting pad; deep etching may remain |
| Scratches you can feel with a fingernail | Defect catches the nail | No, not fully | Touch-up or repaint; polishing only reduces appearance |
| Clear-coat failure (peeling, flaking, white hazing at edges) | Clear coat lifting or crazing | No | Repaint; polishing accelerates failure |
| Exposed primer or bare metal | Color missing, rust starting | No | Body-shop repair and repaint |
A defect that sits in the clear coat is usually correctable. A defect that has broken through to bare metal, primer, or the color layer is not, and no amount of machine polishing will fix it. Clear-coat failure is the one to catch early: once the clear coat starts lifting or crazing, polishing removes the failing layer faster and can take the surrounding good clear coat with it.
When in doubt, polish the least aggressive combination first and inspect under a bright, color-corrected work light. If the defect remains after a light pass, step up one level of pad or compound rather than jumping straight to a heavy cut.
Watch out: polishing a panel without measuring first is how clear coat gets burned through, and that mistake costs far more to fix than the correction would have.
The Car Paint Correction Process, Step by Step
The car paint correction process follows a fixed order, and skipping a step undoes the work that comes after it. Here is the sequence we run.
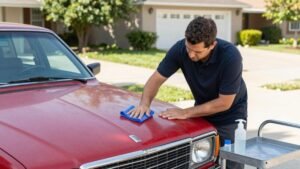
- Wash with a pH-neutral shampoo and a two-bucket method to remove loose dirt without adding swirl marks.
- Decontaminate chemically and mechanically to strip bonded fallout the wash leaves behind.
- Measure paint thickness across every panel and record the readings.
- Test spot in a small, inconspicuous area to confirm pad, compound, and pass count before committing to the whole car.
- Mask trim, seams, badges, and sensitive areas.
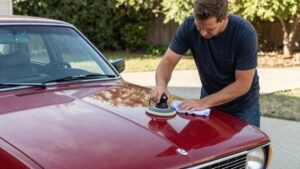
- Compound to cut out defects, then polish to refine the finish.
- Protect with a sealant, wax, or ceramic coating.
Washing, Decontamination, and the Clay Bar
Surface preparation decides how well the cutting stages work. A clay bar pulls embedded contaminants, industrial fallout, and overspray out of the pores of the paint that washing cannot reach. Run your hand over the panel after claying and it should feel glassy. If it still feels gritty, the bar has not finished the job.
Masking Trim and Sensitive Areas
Masking is not busywork. A machine polisher will grab a loose rubber seal, stain textured plastic with compound residue, and catch on badges. Tape off the trim, the panel gaps, and anything the pad could snag, and the correction goes faster with fewer comebacks.
Paint Correction Stages and Choosing a Correction Level
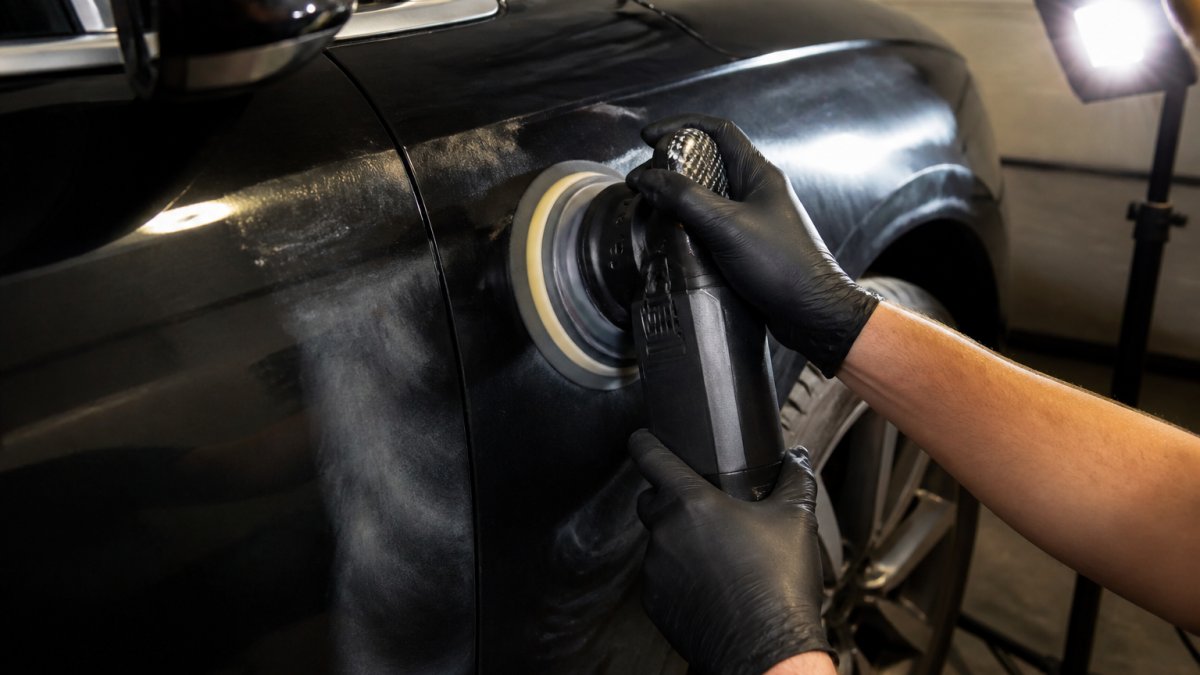
Correction levels run from a single-stage polish to a multi-stage cut and refine, and the right choice depends on defect severity and how much clear coat you can safely remove.
Start With the Least Aggressive Combination
The test spot separates a real assessment from a guess. Start with the least aggressive pad-and-polish combination that could plausibly remove the defect, run a controlled pass, and evaluate the result under a bright work light before escalating.
A practical escalation ladder looks like this:
- Light polish on a soft finishing pad. Removes haze and light swirls with minimal material removal.
- Medium polish on a polishing pad. Handles moderate swirls and light water-spot etching.
- Compound on a cutting pad. Cuts deeper defects but removes more clear coat.
- Compound on a microfiber cutting pad or a more aggressive compound. Reserved for heavy oxidation and deep defects, and only after measurement confirms there is margin.
Evaluate the test spot after each step. If the defect is gone and the finish is clear, stop escalating. If it remains, step up one level rather than two, and re-measure the test area to confirm you are still within a safe working margin.
The goal is not the most aggressive correction. It is the least aggressive correction that removes the defect while preserving clear coat. A finish corrected with the lightest effective combination lasts longer and leaves more margin for future care.
Correction Levels, Time, and Cost Expectations
Correction level drives labor time, and labor time drives cost.
| Correction Level | What It Removes | Typical Use Case | Typical Labor Time | Typical Professional Price Range |
|---|---|---|---|---|
| One-stage polish | Light swirls, minor haze | Well-kept newer vehicles | 3-5 hours | $250-$450 |
| Two-stage cut and refine | Moderate scratches, water spots | Daily drivers with visible defects | 6-10 hours | $450-$800 |
| Multi-stage correction | Heavy oxidation, deep defects | Neglected or older finishes | 10-16+ hours | $800-$1,500+ |
A DIY approach trades labor cost for tool and material cost and, more importantly, for risk: a first-time user with a random orbital polisher can usually handle a one-stage polish safely, but multi-stage correction on thin or repainted clear coat is where beginners burn through panels.
Multi-stage correction on a panel with a low film-build reading or a known thin repaint is high-risk. If measurement shows limited margin, a one-stage polish or a touch-up-and-accept approach is the safer choice, even if the finish does not come out perfect.
For current prices or a quote, visit our website. Pricing depends on vehicle size, paint condition, and service scope.
How to Restore Faded Car Paint and Repair Chips
Restoring faded car paint means removing the oxidized layer, not coating over it. Oxidation is dead clear coat sitting on the surface, and a compound worked with a machine polisher lifts it away to reveal the color and depth underneath.
Paint chips are a different problem. A chip is missing material, so the fix is touch-up paint applied in thin layers, built up to just below the surrounding clear coat, then leveled and polished.
Ceramic Coating After Paint Correction
Ceramic coating after paint correction is the step that locks in the result. Correction removes defects and leaves bare, unprotected clear coat.
The order matters. Coating over uncorrected paint seals the defects in. Coating over improperly prepped paint fails early. If you are still working out how correction and coating differ, our guide on paint correction versus ceramic coating explains the distinction in full.
Schedule Mobile Paint Restoration at Your Location
Getting professional correction no longer requires leaving the car at a shop for days. Our service is fully mobile and delivered to your driveway, dock, or hangar, so there is no drop-off or shop schedule required.
If you want to see how the visit works from booking to final walkaround, read our step-by-step mobile paint correction booking guide. Ready to move? Contact our team to confirm your location and get a quote.
Frequently Asked Questions
What are the steps in the car paint restoration process?
A full car paint restoration runs in a set order: assess paint condition and measure clear-coat thickness, wash and decontaminate the surface with a clay bar, mask trim and sensitive areas, compound to remove defects, polish to refine gloss, then protect the finish with wax, sealant, or ceramic coating. Skipping the wash and decontamination steps traps grit under the pad and creates new scratches during machine polishing.
What is the difference between paint restoration and repainting?
Paint restoration works on the existing factory paint, removing defects from the clear coat so the original finish shows through. Repainting sprays new color and clear coat over the panel. Restoration preserves factory paint, which is usually the most durable finish a car will ever have. Repainting becomes necessary when damage reaches through the clear coat into the color layer, or when the clear coat has failed and begun peeling.
Can paint correction remove scratches and swirl marks?
Paint correction removes swirl marks, light scratches, oxidation, and water spot etching that sit within the clear coat. It cannot fix scratches you can feel with a fingernail, because those have cut through the clear coat into the color layer. A detailer confirms what is correctable by testing a small spot with an abrasive compound before committing to the full panel.
How long does car paint restoration take?
A one-step correction on a well-kept car can finish in a few hours. Multi-stage paint correction on a swirled or oxidized finish typically takes a full day or more, since each stage covers every panel. A detailer can give a realistic timeline after inspecting the paint.
How do you protect car paint after restoration?
Protection goes on immediately after the final polishing stage, while the paint is bare and clean. Wax offers the shortest durability, sealants last longer, and ceramic coating gives the longest protection and the slickest surface for washing. Whichever you choose, wash with a pH-neutral shampoo and microfiber mitts, and avoid automatic brush car washes that reintroduce the swirl marks you just paid to remove.
When is a car’s paint too damaged to restore?
Paint is past restoration when the clear coat has failed, meaning it is peeling, flaking, or chalky white and no longer bonded to the color layer. Deep scratches and chips that reach primer or bare metal also fall outside correction, since polishing cannot add material back. In those cases, spot repair or repainting is the honest answer, and a detailer should tell you so before charging for correction.
Your paint is either protected or it is aging, and there is no neutral middle. If the finish on your car has lost its depth, or you want a new vehicle corrected and coated before the first winter, we can help. Blue Ridge – Mobile Detailing brings multi-stage paint correction, certified ceramic coating installation, and fully mobile service to your driveway or fleet yard. Get started with Blue Ridge – Mobile Detailing and restore the finish your vehicle deserves.