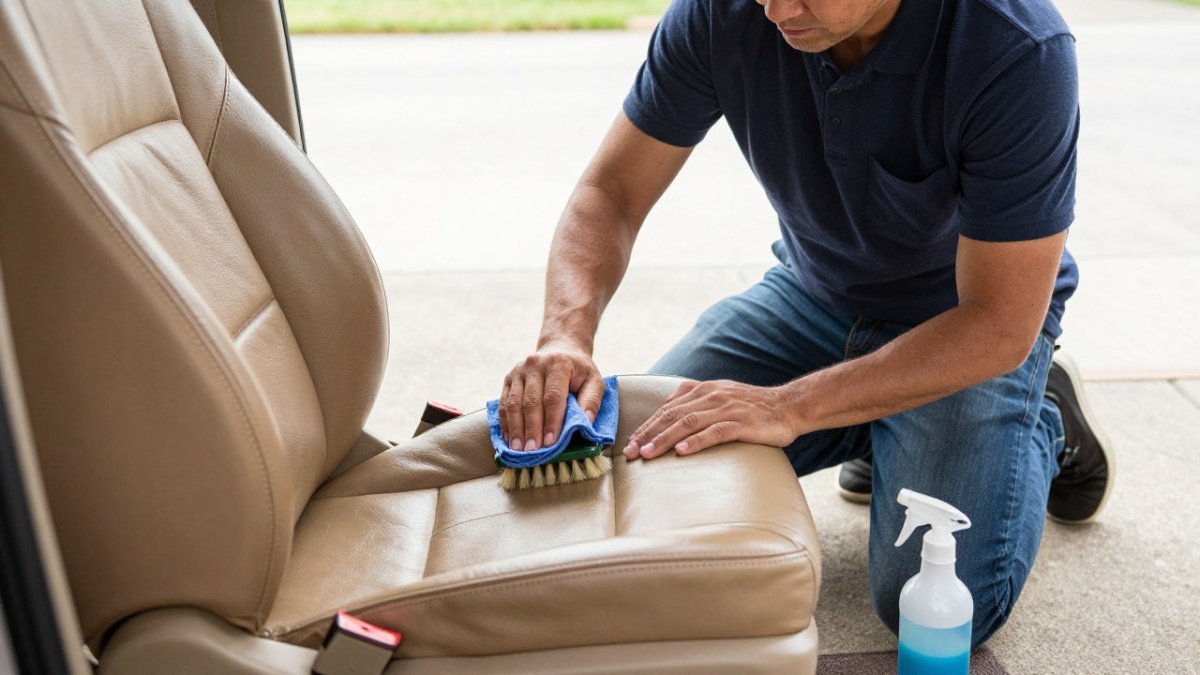
Quick Summary
To clean leather car seats without damaging them, first identify the leather type and finish, then vacuum the seats and wipe them with a damp microfiber cloth and a pH-neutral leather cleaner. Test a hidden spot first, avoid soaking the seat, dry it immediately, and condition it once fully dry.
- Identify your leather type first, since coated, aniline, and vinyl surfaces need different care.
- Use a pH-neutral leather cleaner and avoid alcohol, ammonia, and harsh degreasers.
- Test any product on a hidden area before cleaning the full seat.
- Dampen the cloth rather than the seat, and never pour water onto the leather.
- Condition the leather after it is fully dry, usually at least an hour after cleaning.
Table of Contents
- Identify Your Leather Type and Finish Before You Clean
- Tools and Materials You Need to Clean Leather Car Seats
- Step-by-Step: Cleaning Leather Car Seats With Soap and Water
- Best Leather Cleaner for Car Seats: What to Choose and What to Avoid
- Cleaning Perforated Leather Car Seats Without Soaking the Foam
- How to Condition Leather Car Seats After Cleaning
- Scheduling Your Next Interior Clean With Blue Ridge Mobile Detailing
- Frequently Asked Questions
Identify Your Leather Type and Finish Before You Clean
Cleaning leather the wrong way can strip its finish, dry it out, or leave it sticky. Before you touch a cloth to your seats, figure out what kind of leather you have and how it is coated.
The five upholstery types you are likely to meet:
- Coated or pigmented leather. This is the most common automotive leather. A pigment layer and a clear topcoat sit over the hide, so the surface is uniform in color and feels slightly plastic. It resists water and is the most forgiving to clean with a damp cloth and pH-neutral cleaner.
- Aniline leather. Dyed but not coated, so the surface is matte and shows the natural grain and any flaws. It absorbs liquid quickly and is the least forgiving. Use only a cleaner labeled for aniline and keep the cloth barely damp.
- Semi-aniline leather. A light protective coat over aniline-dyed hide. It is more resistant than pure aniline but still more porous than coated leather. Treat it like aniline with extra caution around seams.
- Vinyl. A synthetic surface, often used on seat backs, bolsters, and lower trim. It is durable and water-resistant but can be damaged by solvent cleaners and abrasive pads. Do not assume a seat is leather just because the seating surface is.
How to tell which one you have:
- Check the seat tag, owner’s manual, or the manufacturer’s website for the material spec. Many automakers list “leather,” “leatherette,” or “synthetic leather” in the seat description.
- Look at the surface. A glossy, uniform color with a fine, even grain usually means coated leather or vinyl. A matte surface that shows natural grain, scars, or color variation is more likely aniline or semi-aniline.
- Run the water-drop test on a low, hidden spot like the seat base. If the water beads and sits on top, the surface is sealed. If it soaks in within a few seconds, the leather is more porous and needs gentler treatment.
- Press a fingernail gently into a hidden area. Coated leather and vinyl feel firm and spring back; aniline leather feels softer and may lighten where pressed.
Watch out: Do not assume all leather seats in one vehicle are the same material.
Heated, ventilated, and perforated seats can have thinner surfaces and sensitive electronics underneath, so they call for extra care regardless of the leather type.
Tools and Materials You Need to Clean Leather Car Seats
Gather your supplies before you start. Having everything nearby keeps you from rushing and reaching for the wrong product.
Recommended tools and materials:
- Soft-bristled upholstery or detailing brush
- Handheld vacuum with a soft brush attachment
- Two or three clean microfiber towels (one for cleaning, one for drying, one for buffing)
- A bucket of distilled or lukewarm water
Safety precautions:
- Never use household cleaners, bleach, vinegar, baking soda, or harsh degreasers on leather. These can strip color and dry out the hide.
- Test every product on a hidden area first.
- Work in shade. Direct sun can dry the cleaner onto the surface before you wipe it off.
- Keep the car’s interior ventilated while you work and until the seats fully dry.
Step-by-Step: Cleaning Leather Car Seats With Soap and Water
For routine dirt, a mild soap and water solution is often all you need. This method works well for everyday grime and light stains.
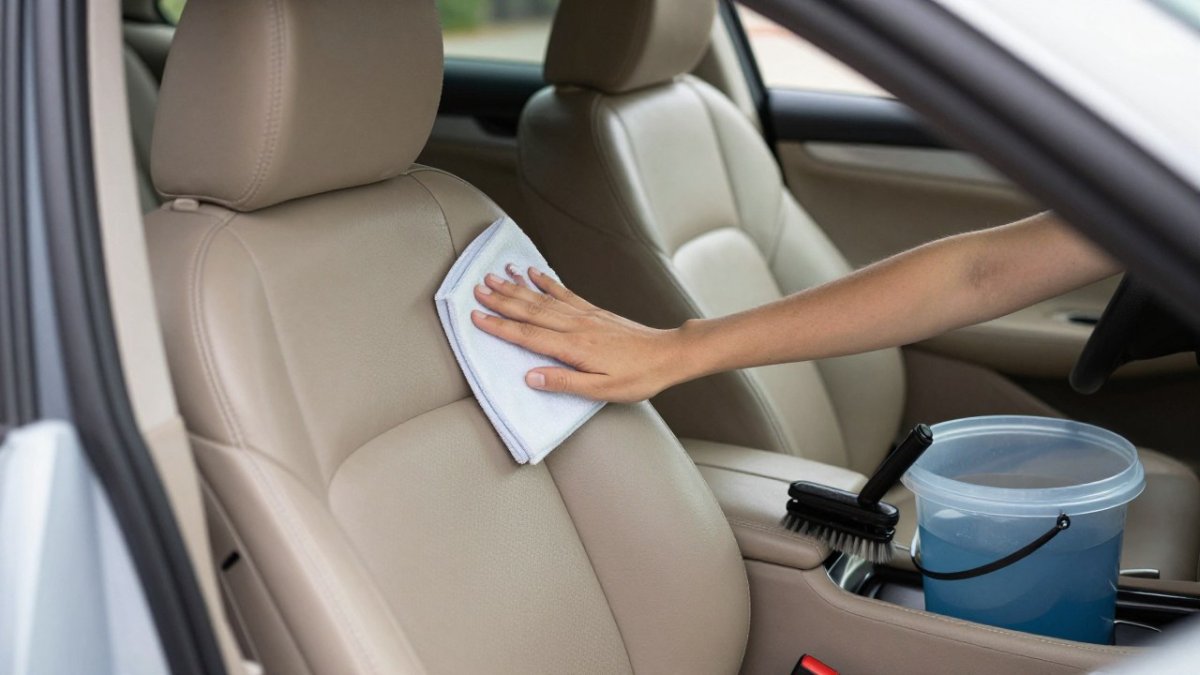
- Vacuum the seats. Use the soft brush attachment to pull out loose dirt, crumbs, and grit from the surface, seams, and creases. Grit left behind can scratch the leather when you wipe.
- Mix a mild solution. Add a few drops of gentle, pH-neutral soap to a bucket of lukewarm water. Stir until it is just sudsy. Too much soap leaves residue.
- Test an inconspicuous spot. Apply a small amount to a hidden area and wait a few minutes. Check for color change or damage before continuing.
- Dampen your microfiber cloth. Wring it out well. The cloth should be damp, not dripping.
- Wipe in small sections. Work from top to bottom, one area at a time, using gentle circular motions.
- Brush the seams. Use a soft brush or cotton swab to lift dirt from stitching and folds. Keep pressure light.
- Wipe away residue. Go over each section with a clean, damp cloth using clean water to remove soap.
- Dry immediately. Pat the seat dry with a dry microfiber towel. Let it air dry completely before you sit on it.
Watch out: Never soak the seat or pour water directly onto the leather. Excess moisture can seep into the seams and foam.
The steps below follow a routine soap-and-water clean, with the time and handling each step calls for.
| Step | What to do | Time or frequency |
|---|---|---|
| Vacuum the seats | Use soft brush attachment to remove loose dirt and grit | Before cleaning |
| Mix a mild solution | Add a few drops of pH-neutral soap to lukewarm water | Until just sudsy |
| Test an inconspicuous spot | Apply a small amount to a hidden area | A few minutes |
| Dampen microfiber cloth | Wring it out so it is damp, not dripping | Before each wipe |
| Wipe in small sections | Work top to bottom with gentle circular motions | One area at a time |
| Brush the seams | Lift dirt from stitching with soft brush or swab | Light pressure |
| Wipe away residue | Go over sections with clean damp cloth | Clean water |
| Dry immediately | Pat dry with microfiber, then air dry fully | Before sitting on it |
Best Leather Cleaner for Car Seats: What to Choose and What to Avoid
A dedicated leather cleaner is safer and more effective than improvising with household products. Choosing the right one matters.
What to look for:
- A pH-neutral or pH-balanced formula
- A label that says it is safe for automotive leather
- A cleaner that is gentle on your finish type
What to avoid:
- Alcohol-based or solvent cleaners, which can strip color and dry the hide
- Ammonia or harsh degreasers
- Oil-based products that leave a greasy film and attract dirt
- All-purpose cleaners and dish soap, which are too strong for leather
A gentle leather-specific cleaner used as directed is a safer bet than any kitchen product.
Cleaning Perforated Leather Car Seats Without Soaking the Foam
Perforated leather has tiny holes that help with airflow in heated and ventilated seats.
Extra precautions for perforated and ventilated seats:
- Spray cleaner onto your cloth, never directly onto the seat.
- Use the lightest pressure possible and keep the cloth just damp enough to lift dirt.
- Work with the grain rather than scrubbing across the perforations, which pushes liquid inward.
- Dry the surface quickly with a clean towel and use a fan or the car’s ventilation system to speed drying.
Watch out: If you see discoloration or dampness in the foam, or if the seat’s ventilation or heating stops working after cleaning, stop and let the seat dry completely before using it again.
Stain-specific treatment. Treating every mark the same way is how seats get damaged. Match the method to the spill:
- Ink. Blot, do not rub. A small amount of isopropyl alcohol on a cotton swab, applied only to the ink and not the surrounding leather, can lift fresh ink from coated leather. Test first, keep the area small, and wipe away residue with a damp cloth. Skip alcohol entirely on aniline and semi-aniline leather.
- Dye transfer. Dye from dark jeans or clothing often sits on the topcoat. A leather-safe cleaner and a soft brush with light pressure usually lifts it. Persistent dye transfer may need a dedicated dye-transfer remover, and some cases require professional treatment.
- Grease and oil. Lift excess with a dry cloth, then use a small amount of leather-safe cleaner. Avoid dish soap and degreasers, which can strip the finish.
- Food and drink. Blot liquids immediately, then clean with a damp cloth and mild leather cleaner. Sticky residues may need a second pass with a soft brush at the seams.
Know when to stop. Cleaning should not make the surface worse. Stop and let the seat dry if you notice any of the following:
- Cracking that opens up or feels rough to the touch
- Color transfer onto your cloth that does not stop
- Peeling or flaking at the edges of a panel
- A finish that looks dull, chalky, or sticky after drying
These signs usually mean the topcoat has failed or the leather is worn through. Further cleaning can widen the damage.
How to Condition Leather Car Seats After Cleaning
Cleaning removes dirt but also strips some natural oils from the hide. Conditioning restores flexibility and helps prevent cracks. Wait until the seat is fully dry before conditioning, usually at least an hour after cleaning.
- Apply a small amount of conditioner to a clean applicator cloth, not directly to the seat.
- Work it into the leather in thin, even layers using gentle circular motions.
- Pay attention to high-wear spots like the bolsters and seat edges, but don’t overload them.
- Let the conditioner absorb for the time listed on the product label.
- Buff the surface with a clean, dry microfiber towel to remove excess and restore a natural sheen.
Conditioning every few months helps maintain softness, especially in hot or dry climates. Avoid over-conditioning, since too much product can leave a sticky or greasy feel and attract dust.
Scheduling Your Next Interior Clean With Blue Ridge Mobile Detailing
Doing a thorough interior clean yourself takes time, and it is easy to miss seams, vents, and perforations. If you would rather have a professional handle it, Blue Ridge Mobile Detailing provides mobile service delivered to your driveway, dock, or hangar, with no drop-off or shop schedule required. book a mobile interior clean and we will bring the work to you.
If you want to confirm we serve your town before booking, find your town on our service area list. For current prices or a quote, request a quote from our team.
For a broader look at professional interior and surface care, including protective services for leather, explore our full range of mobile services. Regular cleaning and conditioning will keep your seats looking their best,
Frequently Asked Questions
What is the safest way to clean leather car seats?
The safest method starts with vacuuming loose dirt from seams and creases, then wiping the surface with a pH-balanced leather cleaner or a few drops of mild soap in distilled water on a microfiber cloth. Test any product on an inconspicuous area first, work gently, avoid soaking the leather, and wipe away residue with a clean damp cloth. Dry the seat thoroughly before using it, then apply a conditioner to keep the leather supple.
Can you clean leather car seats with soap and water?
Yes, but only with a very mild soap diluted in distilled water and applied with a barely damp microfiber cloth. Strong household soaps and excess water can strip finish, dry out the hide, and leave residue that attracts dirt. Always test on a hidden spot first, wipe off any soap film with a clean damp cloth, and dry the seat completely. Dedicated leather cleaners are usually the more predictable choice for regular care.
Can vinegar damage leather car seats?
Vinegar is acidic and can dull the protective topcoat on automotive leather over time, especially if it is used undiluted or left on the surface. Many guides suggest avoiding it entirely. If you are unsure of your seat’s finish, choose a leather-specific cleaner instead. If you have already used vinegar, wipe the area with a clean damp cloth, dry it, and condition the leather.
How do you clean perforated leather car seats without getting them wet?
Lightly mist the cleaner onto your microfiber cloth rather than the seat, and wipe in the direction of the perforations without pressing liquid into the holes. Use a soft-bristled brush and minimal moisture around vent holes, and avoid spraying directly onto the surface. Keep moisture away from the foam underneath and any seat heating or ventilation components, then dry the area with a clean towel and let it air out fully.