Last Updated: November 5, 2026
Quick Summary
You can remove old window tint safely by steaming the film from inside the vehicle, softening the cured adhesive for 20 to 30 seconds before peeling at a low angle. Work slowly in sections and keep the scraper flat to protect defroster lines and interior trim.
- Steam the film edge for 20 to 30 seconds before peeling at a low angle.
- Expect 20 year old window tint to come off in strips, not one sheet.
- The bag-and-sun method needs two to four hours on a warm day.
- Never use metal razor blades on rear glass with defroster lines.
- Test the defroster after removal to check for cold bands.
Table of Contents
- Why Old Window Tint Gets Stuck (and What Makes It Risky to Remove)
- Tools and Supplies You Need Before You Start
- How to Remove Old Window Tint Safely From Inside
- How to Remove 20 Year Old Window Tint Without Tearing It Apart
- How to Remove Window Tint Without Heat
- How to Remove Tint Without Damaging Windows at Home
- Cleaning Adhesive Residue and Disposing of Old Film
- When to Hand It to a Mobile Tint Professional
- Frequently Asked Questions
Why Old Window Tint Gets Stuck (and What Makes It Risky to Remove)
Old window tint bonds to glass in layers.
That is why learning how to remove old window tint safely matters more than learning how to remove fresh tint. Fresh film lifts in one piece. Aged film fights back.
The risk is not the glass itself. Automotive glass is tough. The real danger sits in two places: the defroster lines printed across your rear window, and the plastic interior trim around every edge.
Signs Your Tint Is Ready for Removal
Watch for these signals that the film has aged past saving:
- Bubbles clustered near the edges or across the center
- Purple or brown discoloration where the film has baked in the sun
- Hazy or cloudy patches that will not wipe clean
Any one of these means the film is breaking down. Waiting longer makes removal harder.
If you want more context on tint and car care topics before you start, the blog archive covers related guides.
Tools and Supplies You Need Before You Start
Gather everything first. Stopping mid-job to hunt for a tool is how people scratch glass.
Core removal tools:
- Handheld steamer with a nozzle attachment
- Plastic scraper or plastic razor blade
- Heat gun, only if you are skipping steam
Protective supplies:
- Nitrile gloves
- Drop cloth or old towels for the interior
- Painter’s tape to mask trim edges
A quick note on soap: baby shampoo is the safer choice. It lubricates the glass without leaving a residue that fights your next step.
Skip acetone and harsh degreasers. If you have questions about which products are safe on your vehicle, the FAQ page covers common concerns.
How to Remove Old Window Tint Safely From Inside
Work from the inside of the vehicle. The film is applied to the interior face of the glass, so that is where it has to come off.
Start by lowering the window a few inches so you can reach the top edge. Tape off the trim below the glass with painter’s tape. Lay a drop cloth under the door.
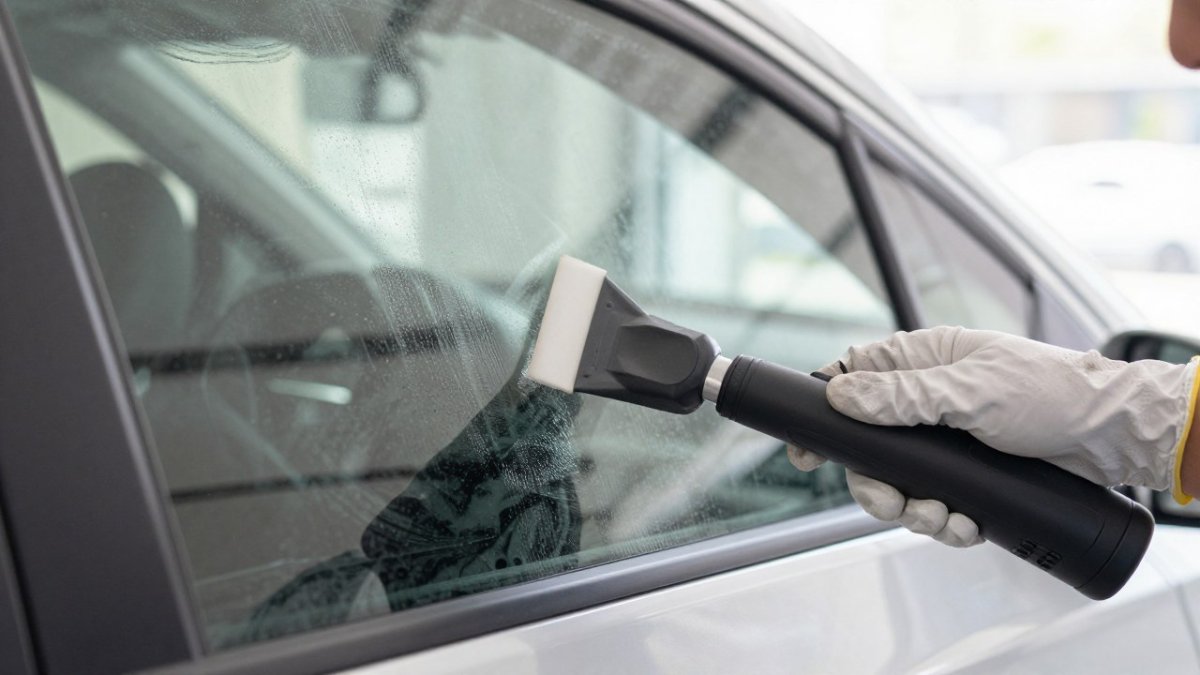
Step-by-Step: Steam, Peel, and Pull
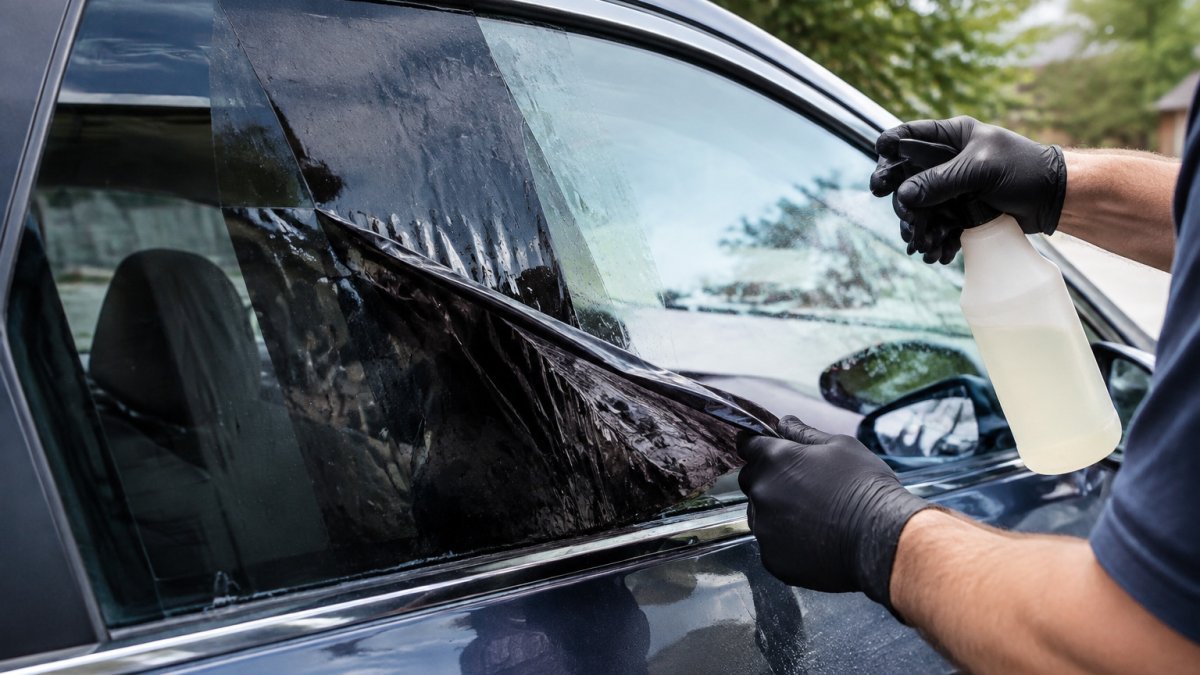
- Score a corner. Pick a top corner and lift the film edge with your plastic scraper. Do not use a metal razor blade on defroster glass.
- Steam the edge. Hold the steamer nozzle a couple of inches from the film. Let the heat soften the cured adhesive for 20 to 30 seconds.
- Peel at a low angle. Pull the film back slowly, keeping it close to the glass. A steep pull tears the film and leaves adhesive behind.
- Steam as you go. Follow the peel line with the steamer. Heat application keeps the adhesive soft.
- Work in sections. Move across the window in strips rather than trying to lift the whole sheet at once.
Go slow. Speed is what causes tears.
The inside-face removal follows a simple steam-and-peel sequence.
| Step | What to do | Time or frequency |
|---|---|---|
| Score a corner | Lift film edge with plastic scraper | Once per panel |
| Steam the edge | Hold steamer nozzle a couple of inches away | 20 to 30 seconds |
| Peel at a low angle | Pull film back slowly, close to glass | Continuous |
| Steam as you go | Follow the peel line with the steamer | Continuous |
| Work in sections | Move across window in strips | Throughout the job |
How to Remove 20 Year Old Window Tint Without Tearing It Apart
Two-decade-old film will not peel in one sheet. Expect it to come off in strips, and plan for that.
The trick is heat plus patience. Steam the film until it turns soft and slightly stretchy, then pull in short sections.
For badly brittle film, score the surface into smaller panels with your plastic scraper first.
Watch out: pulling hard on dry, brittle film is the fastest way to rip it into confetti and leave a mess of adhesive on the glass.
How to Remove Window Tint Without Heat
No steamer and no heat gun? You can still get the film off. It just takes longer, and it works best on side glass rather than rear glass with defroster lines.
The no-heat method relies on moisture softening the adhesive layer and trapped solar heat raising the glass temperature enough to let the film release. A soapy-water version is gentler on trim and aftermarket film but slower.
The Bag-and-Sun Method
- Prep the exterior face. Mix a spray bottle of water with a small amount of liquid dish soap or baby shampoo. Spray the outside of the window so the bag will cling.
- Apply the bag. Press a black plastic trash bag against the wet glass and smooth out air pockets. Black plastic absorbs sunlight and traps heat against the glass.
- Keep the bag in place. Leave the bag pressed against the glass so the film stays damp and warm.
- Park in direct sun. Give it two to four hours on a warm day. The glass should feel hot to the touch through the bag when it is ready.
- Peel from a top corner. Lift the edge with a plastic scraper and pull at a low angle, keeping the film close to the glass. Re-wet the glass with soapy water as you go to keep the adhesive slick.
- Clean up residue. Switch to isopropyl alcohol on a microfiber cloth for cured adhesive spots, then finish with a glass cleaner.
Watch out: the bag-and-sun method can trap enough heat to soften window seals and trim adhesive on older vehicles. Check the surrounding rubber before you commit, and do not leave the bag on for a full day in peak summer sun.
When the No-Heat Method Fails
This approach has real limits. It works poorly on:
- Rear glass with defroster lines, because you cannot control where the heat lands and the film tends to tear across the grid.
- Heavily delaminated film, which flakes instead of peeling and leaves adhesive behind no matter how long it soaks.
- Films with a hard ceramic or metallic top coat, which resist moisture penetration far better than dyed films.
If the film will not release after a full sun cycle, more time in the sun rarely helps. At that point, controlled heat from a steamer is the safer next step, or hand the panel to a professional rather than escalating to force.
How to Remove Tint Without Damaging Windows at Home
Protect the glass and the trim, and you protect the whole job. Home removal goes wrong when people rush the edges or treat the rear window like a side window.
Protecting Defroster Lines and Interior Trim
Defroster lines are thin metallic strips, usually a silver-bearing conductive paste, fired onto the interior face of the rear glass.
Three failure modes account for most defroster damage:
- Mechanical scoring. A plastic scraper held at a steep angle can catch an edge of a strip and lift it. Metal blades cut through strips almost instantly.
- Thermal shock. Concentrating a heat gun on one spot can crack the glass or delaminate a strip from the surface. Steam is gentler because it spreads heat across a wider area.
- Chemical attack. Solvent pooled against the glass can wick under a lifted strip and break the bond. Wipe solvents onto a cloth, never spray them directly at the rear window.
A safe rear-window workflow looks like this:
- Inspect first. With the defroster off and the glass cool, run a fingertip across the strips. Any strip that already feels raised or flaky is a stop sign, hand that panel to a professional rather than risk making it worse.
- Mask the trim. Painter’s tape along the lower garnish and side pillars keeps scrapers from gouging plastic when they slip.
- Steam in horizontal passes. Work parallel to the strips, not across them. Hold the nozzle a couple of inches back and let the heat soak for 20 to 30 seconds before lifting film.
- Peel with the strips, not against them. Pull film back at a low angle and keep the peel line moving parallel to the defroster grid. A peel that runs perpendicular to the strips puts concentrated tension on each one.
- Keep the scraper flat. The blade should skim the glass at a shallow angle. If you feel it catch, stop and re-steam rather than push through.
- Test before you finish. With the glass clean and dry, switch the defroster on for a few minutes and check for cold bands. A dead strip shows up as a line that stays fogged while the rest clears.
Watch out: a single broken strip usually means the entire grid has to be repaired or the rear glass replaced, and that cost dwarfs the price of a professional tint removal.
Interior trim is the second fragile zone. Door panels, pillar covers, and rear parcel shelves are usually ABS or polypropylene with a textured grain that shows every scratch.
Working Around Complex Glass Shapes
Not every window behaves like a flat door pane. Quarter glass, frameless windows, and rear glass with compound curves each need a different approach:
- Frameless windows have no frame to brace against, so the glass flexes under pressure. Support the back of the glass with your free hand and use lighter scraper pressure.
- Quarter glass is often small and tightly curved, which makes film tear at the corners. Score the film into smaller panels before peeling.
- Rear glass with compound curves concentrates tension at the edges. Start peeling from the flattest section and work toward the curves rather than the other way around.
If any panel feels like it is fighting back harder than the others, that is the panel to slow down on, not the one to force.
Cleaning Adhesive Residue and Disposing of Old Film
Adhesive residue is the last hurdle. Spray it with soapy water, let it sit a minute, then work it loose with a plastic scraper and a microfiber cloth.
Finish with a non-ammonia cleaner. Ammonia can damage aftermarket film edges and is harsh on trim.
Do not toss old film in the household trash without thinking. Film is plastic, so check your local waste guidelines before disposal.
When to Hand It to a Mobile Tint Professional
Some jobs are not worth the risk. Rear glass on a modern vehicle, heavily delaminated film, or any window where you feel resistance is a sign to stop.
A pro brings controlled heat, the right scrapers, and the experience to protect defroster lines. Blue Ridge – Mobile Detailing offers professional window tinting at your home or workplace, so you skip the shop drop-off entirely.
If you would rather not gamble on your rear glass, book professional window tinting and let a trained installer take the film off. Our mobile tinting guide explains how the at-home service works, and you can contact our team to schedule.
Frequently Asked Questions
What is the easiest way to remove old tint from car windows?
Steam is the most forgiving method. Hold a handheld steamer against the film for 10 to 15 seconds to soften the cured adhesive, then lift a corner with a plastic scraper and pull the film away in slow, even strips.
What dissolves old window tint adhesive?
Isopropyl alcohol, acetone, and dedicated adhesive solvents break down cured adhesive once the film layer is gone. Soak a microfiber cloth, press it against the glass for a minute, then wipe. For stubborn patches, a plastic scraper plus soapy water with a few drops of baby shampoo gives you lubrication without scratching the glass surface.
Can you remove old window tint without using heat?
Yes, though it takes longer. Soak the film with soapy water, cover it with a black plastic bag, and park in direct sun for an hour so the glass absorbs heat naturally. Peel from a scored corner with a plastic scraper.
How do you protect rear defroster lines when removing tint?
Never use a razor blade on the rear window. Score the film lightly with a plastic scraper only, keep the steamer moving so no single spot overheats, and pull the film parallel to the glass rather than up and away. If the tint is brittle or delaminating, let a professional handle the rear glass,
Removing aged tint is a test of patience more than skill. The film will come off, but only at its own pace. If you want the job done without risking your defroster lines or interior trim, Blue Ridge – Mobile Detailing brings professional tint removal and installation to your driveway, with custom film cutting on site and full mobile service. Get started with Blue Ridge – Mobile Detailing and protect your glass the first time.